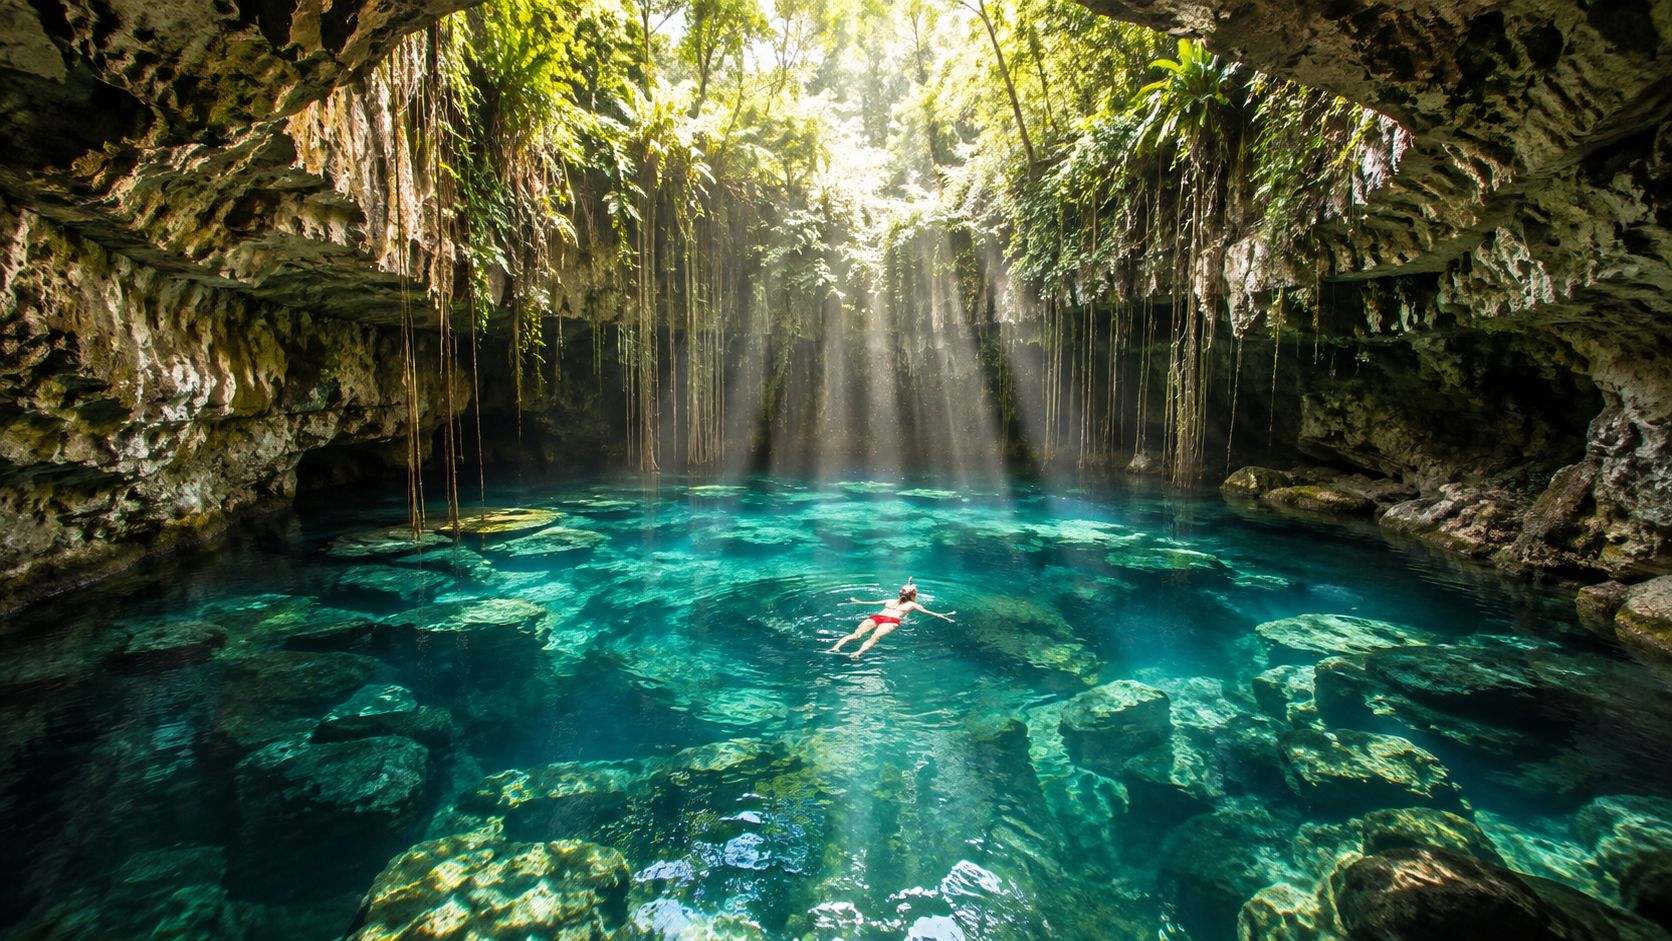
The Yucatán Peninsula has an estimated 6,000 to 10,000 cenotes, but only about 113 were certified for tourism as of 2020, and most public cenotes charge 50 to 300 pesos to enter. That's the starting point for cenote swimming Mexico, a trip that's part sacred terrain, part budget logistics, and part choose-the-right-water-for-your-nerves.
You're probably deciding whether this is a dreamy swim you should build a day around, or a tourist trap you should skip. The honest answer is that it depends entirely on which cenote you pick, how comfortable you are in water, and whether you care more about a perfect photo or a calm, beginner-friendly swim.
What Cenote Swimming in Mexico Actually Is
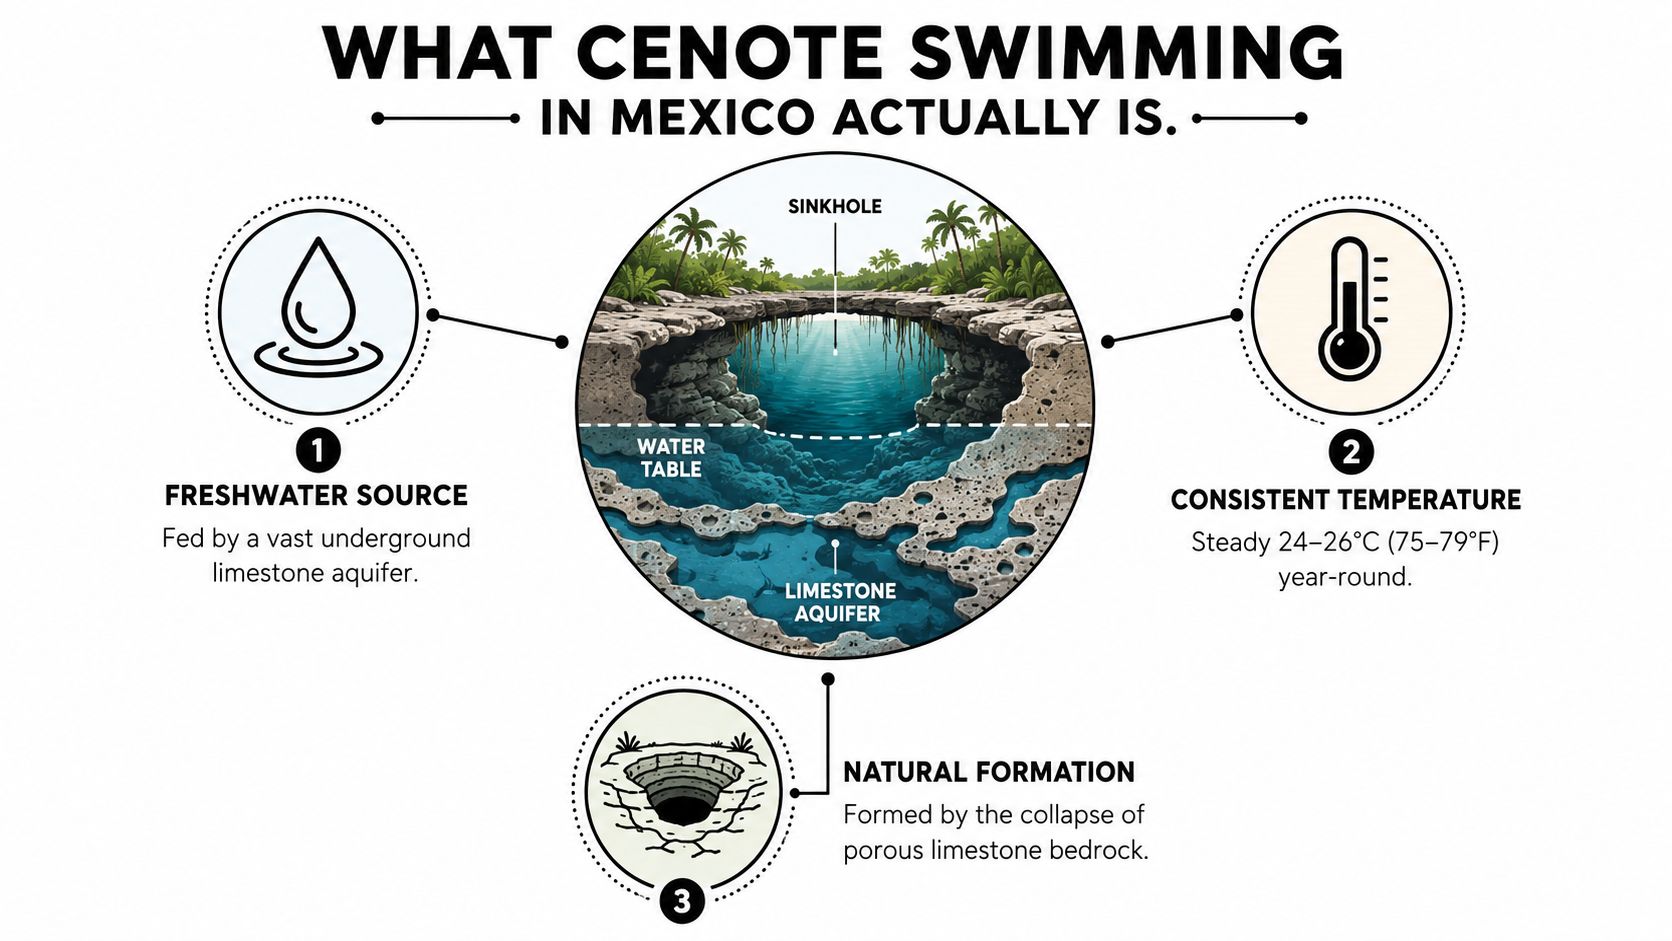
You reach the rim of a cenote and the setting clicks into place fast. This is a natural sinkhole connected to a vast limestone aquifer, part of a karst system that spans roughly 165,000 square kilometers across México, Guatemala, and Belize (Wikipedia on cenotes). That is why cenote swimming in Mexico feels like a signature Yucatán experience, not just another swim stop between ruins and lunch.
How the water works
Cenote water stays steady, usually around 24 to 26°C year-round, which is comfortable without feeling warm like a pool (Mexico Travel Secrets). It is a good swim temperature, but it is still cool enough that you notice it when you stop moving, especially in a shaded or partially enclosed cenote.
The geology shapes the experience as much as the temperature. Limestone filters the water, which is why cenotes often look clear, but the same collapse structure can also mean slippery entry points, sudden depth changes, and awkward ladders or steps. The setting is beautiful, and the footing can be unforgiving.
Why cenotes are not all the same
The cenotes around the Yucatán are not a single category, and that is the first thing to understand before you choose one. Some are open and easy, some are semi-enclosed with filtered light, and some feel closer to an underground chamber than a swim hole. If you want a broad overview of the region before choosing where to go, a practical Tulum travel guide helps you sort the areas that put the best cenotes within reach.
That range matters for your budget and your nerves. A managed site usually gives you stairs, ladders, clear swimming zones, and a simpler day. A more remote or cave-like cenote demands more confidence in the water and more patience with rough access. If you want the calmest swim, choose the cenote that fits your comfort level, not the one with the most dramatic photos.
Practical rule: Treat cenote swimming as a range of experiences, not one activity. The best choice is the cenote that matches your swimming ability and tolerance for awkward entry points.
The Three Main Types of Cenotes You Can Swim In
If you show up expecting one kind of cenote, you'll make the wrong choice. The useful way to sort them is by how open they feel, how easy the entry is, and how much overhead cover you're willing to handle. That is the difference between a relaxed swim and a cave experience you were not ready for.
Open-air, semi-open, and cave, in plain English
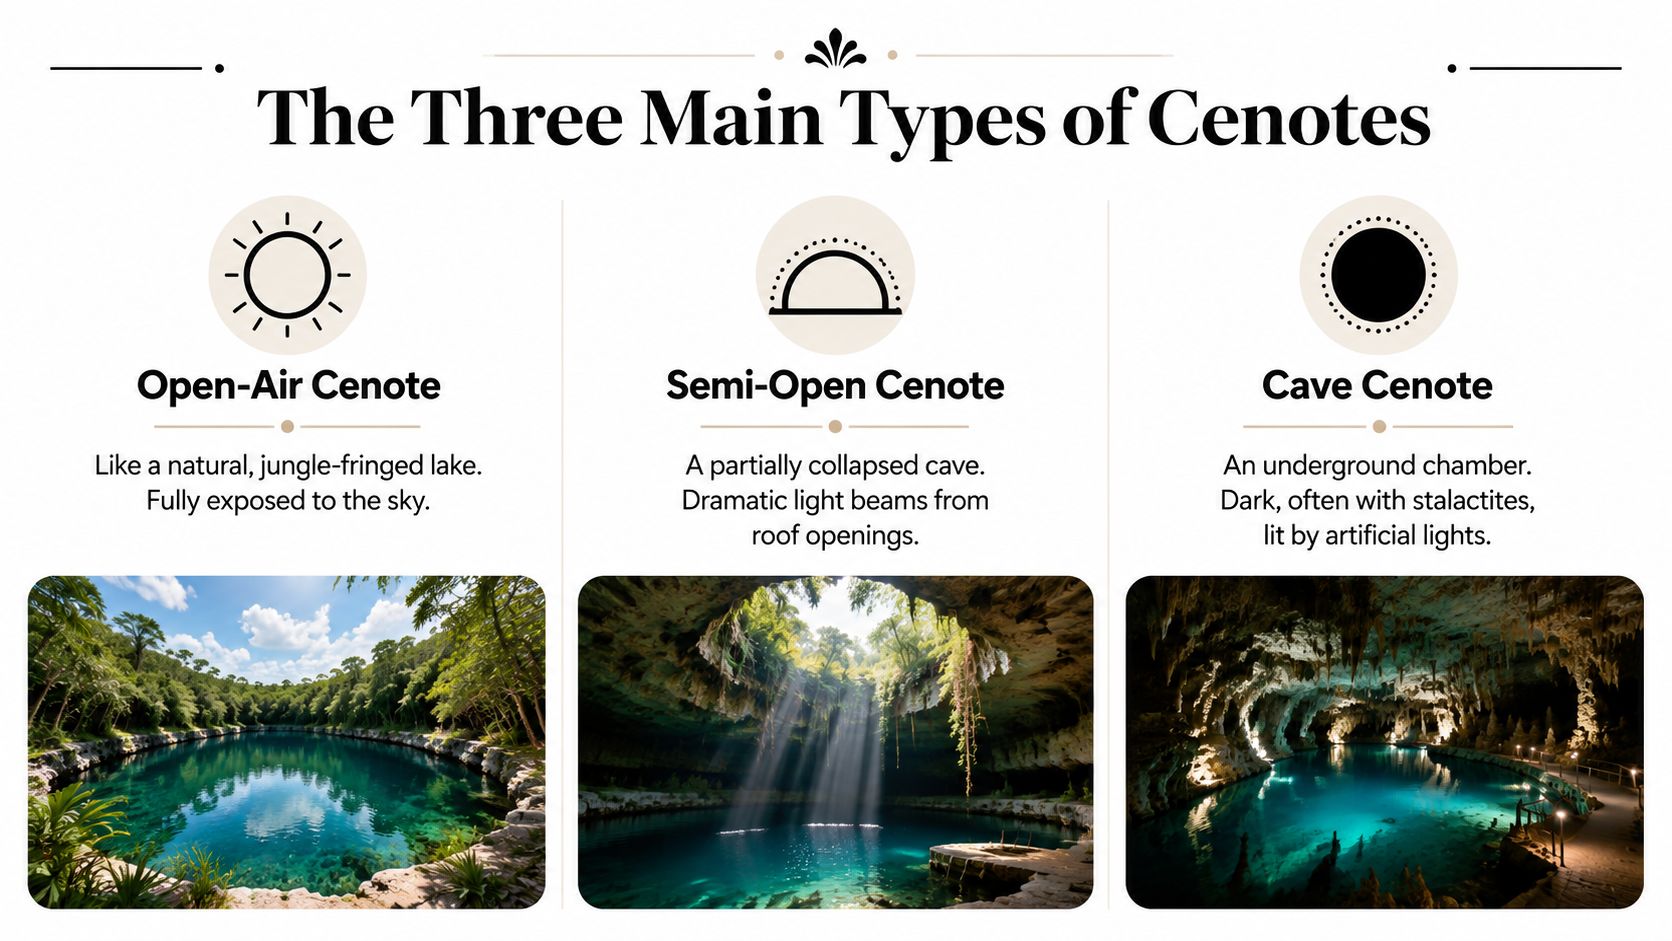
Open-air cenotes are the easiest to read at a glance. The water sits under open sky, usually with jungle around the rim, and the whole setup feels far less enclosed than the other types. These are the best match for families, nervous swimmers, and anyone who wants a straightforward swim without second-guessing the surroundings.
Many open-air cenotes also work better for casual logistics. Entry is often simpler, the swimming zone is easier to see, and you can usually assess whether you want to get in before you commit. For a practical example of what to look for near a major route, see this guide to a cenote close to Chichén Itzá.
Semi-open cenotes sit in the middle. They are partly collapsed, with a roof opening that brings in filtered light, so you get drama without the full cave feel. If you want atmosphere but still want to keep your bearings, this is the safest place to start.
The cave cenote decision
Cave cenotes are the most intense option, and you should treat them that way. You swim under a full ceiling, often with narrow light shafts, stalactites, and water that feels cut off from the outside world. The setting is gorgeous, but it is not the right choice if you want easy access or a carefree dip.
Depth also changes your comfort level fast. Dos Ojos is a good reminder of how cenotes can shift from simple to serious, with the open areas around it often cited at about 3 meters deep (Koox Diving). That is manageable for confident swimmers, but it is still deep enough that beginners should pay attention to entry, footing, and the line between a swim zone and a drop-off.
If you are planning to swim, the cave-like setting matters more than the label on the map. The more enclosed the cenote, the more you should assume uneven entry points, slippery rock, and less room for hesitation. Go only if you are calm in the water and comfortable following local rules without improvising.
Open-air cenotes are the easiest choice. Cave cenotes give you the most atmosphere. Semi-open cenotes usually offer the best balance for travelers who want both comfort and character.
Best Regions for Cenote Swimming in Mexico
If you want the easiest trip, base yourself near the Riviera Maya coast. If you want the best balance of value and beauty, inland Yucatán around Valladolid is the smarter move. If you want quiet and a little more grit, the Puuc route and Homún pocket are where you start finding cenotes without the same tourist pressure.
| Region | Typical access cost | Vibe | Best for |
|---|---|---|---|
| Riviera Maya coast | Usually higher than inland sites | Busy, polished, convenient | First-timers, short stays, easy transport |
| Valladolid and Chichén Itzá area | Moderate | Balanced, scenic, good value | Travelers who want beauty without the worst crowds |
| Puuc route toward Mérida and Uxmal | Often lower-key | Quiet, local, off-the-beaten-path | Slow travelers and repeat visitors |
| Homún pocket | Varies by cenote and route | Adventurous, cluster-based, less polished | Day-trippers who like exploring by cluster |
The Riviera Maya works because the infrastructure is already there. You can pair cenotes with beach time, a ferry, or a short Tulum base, and that makes it the safest choice for travelers who don't want to spend half the day figuring out transport. If you're building a broader Tulum plan, this overview pairs well with practical Tulum activities and planning ideas.
Which base fits which traveler
Valladolid is my favorite all-around base because it gives you access to cenotes without forcing you into the resort-price version of the experience. You'll still find well-known sites, but the pace feels less frantic, and the day trips are easier to combine with colonial-town wandering and ruins.
Puuc and Homún are better if you want a lower-volume, more local-feeling trip. They're not the easiest for a rushed itinerary, but they reward patience. Homún especially works well if you're comfortable piecing together a day rather than expecting everything to be signposted and polished.
| Region | Crowd level | Transport ease | My blunt take |
|---|---|---|---|
| Riviera Maya | High | Very easy | Best if you want convenience first |
| Valladolid area | Medium | Easy enough | Best overall balance |
| Puuc route | Low | Moderate | Best for quieter travel |
| Homún | Low to medium | Moderate to fiddly | Best for adventurous day-trippers |
If you only have one cenote day, don't overcomplicate it. Pick the region that matches your base, then choose a cenote style that matches your comfort level. That's how you avoid paying for a famous name and getting an experience you don't enjoy.
Recommended Cenotes for Different Travelers
For nervous swimmers, the win is not “the most famous cenote.” It's the one with shallow access, obvious platforms, and a staff culture that enforces safety. For that reason, I'd put open-air cenotes with ladders, calm edges, and life-jacket rules at the top of the beginner list.
The site type matters more than the branding. A shallow open-air cenote with a clear swimming zone is far more forgiving than a photogenic cave with a deep central drop. If you're shaky in water, don't let Instagram bully you into the wrong choice. The best cenote is the one you can enter without panic.
My short list by traveler type
Beginner-friendly pick: choose a cenote with a visible shallow zone, staff supervision, and required life jackets. These are the sites where a nervous swimmer can relax instead of spending the whole visit clinging to the wall.
Photo-first pick: go for a semi-open or cave cenote with a dramatic shaft of light. That's the classic cinematic experience, especially if you arrive when the light is right. The trade-off is simple. You get atmosphere, but you may sacrifice comfort and quiet.
Solo-traveler pick: choose a smaller inland cenote or a managed site with clear entry rules and daytime traffic. The safer bet is usually a place that feels organized rather than isolated, especially if you're traveling alone and want fewer unknowns.
Confident snorkeler pick: pick a deeper cavern system where fins make sense and visibility is strong. The broad, open underground spaces reward people who are comfortable in the water and want to drift rather than stand.
For a region-specific starting point near one of the most visited archaeological sites, this guide to a cenote close to Chichén Itzá is useful if you want to combine ruins with a swim.
Decision rule: If you hesitate at the water's edge, skip the famous cave cenote and choose the one with the easiest access. Confidence beats bragging rights every time.
Safety, Health, and Etiquette You Should Not Skip
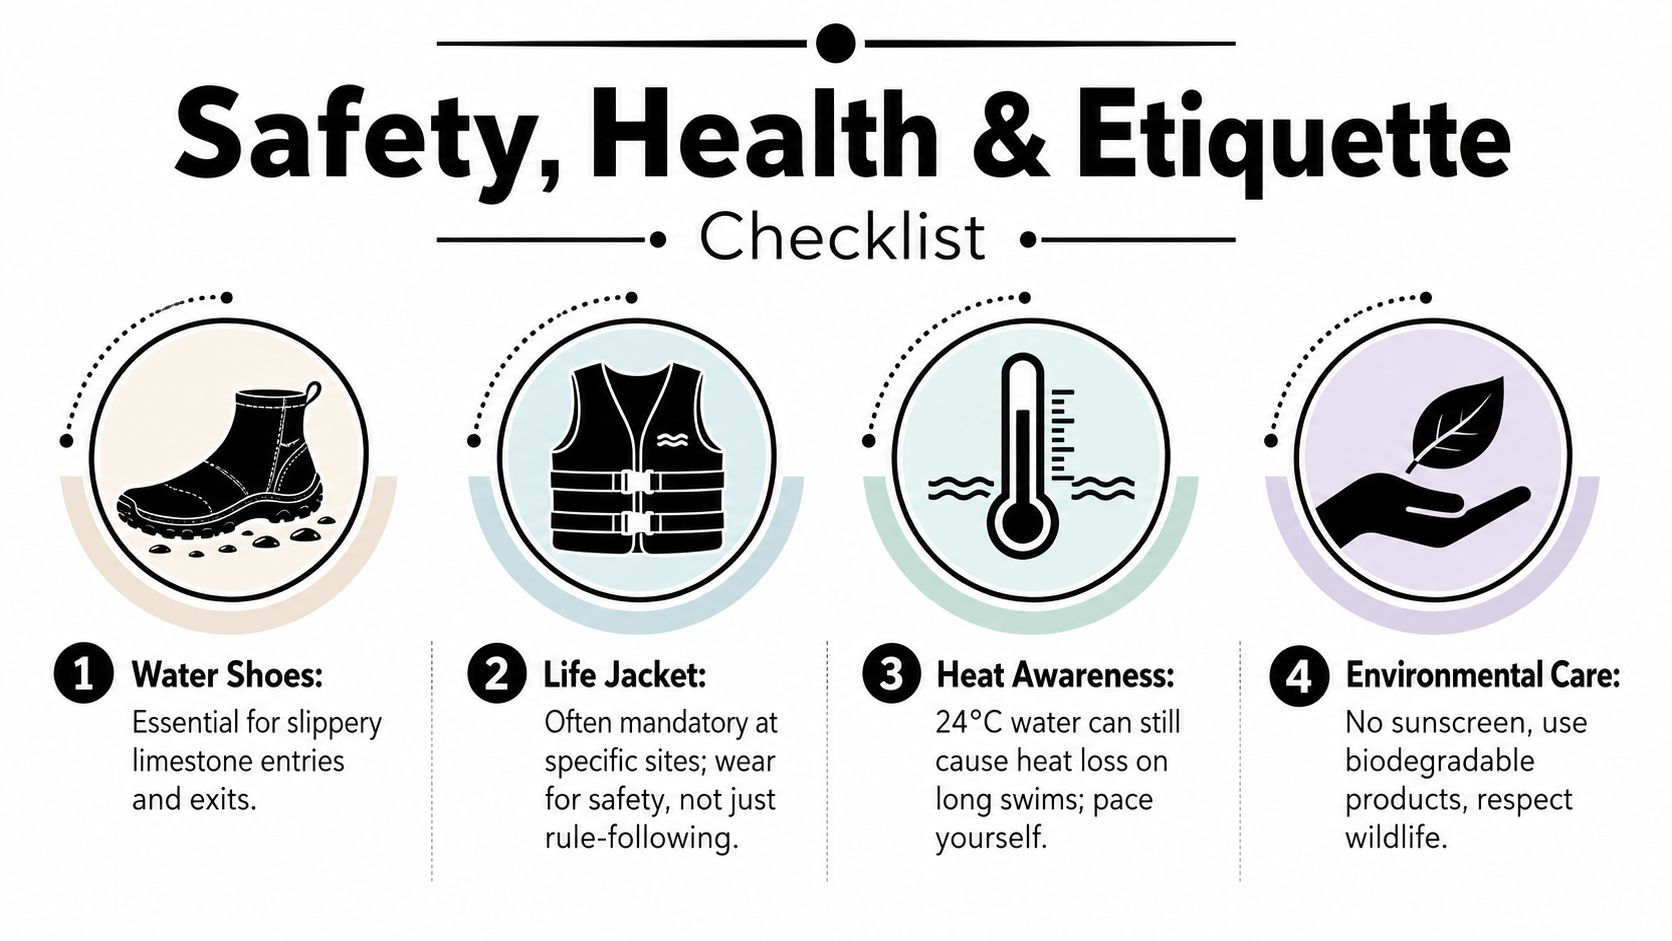
Cenote water feels inviting, but the way in and out often is not. Limestone steps get slick fast, ladders wobble, and platforms can hide a drop that is hard to judge from the top. Bring water shoes, and if you are not a strong swimmer, wear a life jacket even when the site does not force you to.
The rules that matter
The water usually feels comfortable, but it still drains energy if you stay in too long. Cooler cenotes can leave you chilled sooner than you expect, especially in partly enclosed sites. If you start feeling cold, get out, dry off, and come back to it later.
Many operators prohibit sunscreen and soap in the water because cenotes feed fragile freshwater systems. That is not fussiness, it is basic protection for the site. Put sunscreen on before you leave your hotel if you need it, and keep it off the water itself.
Use simple common sense at the edge. Step in slowly, do not jump into water you have not checked, and keep clear of overhead cave sections unless a guide says the route is appropriate. Cave areas demand proper control and local guidance, not confidence and guesswork.
Here is the short version worth following:
- Wear water shoes: They help on slippery limestone entries, exits, and wet platforms.
- Use a life jacket when offered or required: It is a safety tool, not just a rule.
- Enter slowly: Do not leap into water you have not checked carefully.
- Stay out of overhead cave sections without a guide: Those spaces need cave-specific training and strict buoyancy control.
- Avoid touching stalactites or rock surfaces: They are fragile, and hand contact damages the site.
- Leave glass behind: It breaks easily and creates a hazard nobody needs.
- Follow staff instructions: If the operator says no jumping, no diving, or no cameras in a certain zone, follow the rule.
A quick check of safe-area guidance for Mexico is still useful if you are planning transport, rental cars, or a longer route around the region.
Do not dive headfirst into unknown water. Cenotes can hide sudden depth changes, and the water can look clearer than it is.
What to Pack for a Cenote Day Trip
A cenote day goes better when you travel light and arrive ready to swim, not when you drag half your hotel room through a hot parking lot. Bring cash, show up early, and keep your load small. If you are coming from town, a collectivo or a day tour is often easier than piecing together several transfers, especially if you want to visit more than one site in a single day.
What goes in your bag
Pack water shoes, a quick-dry towel, a dry bag, cash for entry, and your own mask-and-snorkel if you want gear that fits properly. If you plan to use sunscreen, put it on before you leave your hotel, then keep it out of the water. A clean change of clothes also matters, because wet denim and wet cotton feel miserable after a swim. A quick-dry travel clothes guide matches the right mindset here, since cenote days punish bulky fabric and sloppy packing.
Leave a few things behind. Skip jewelry, glass bottles, regular insect repellent, and anything you do not want to drop, splash, or lose. If you carry a phone, seal it in a waterproof case or dry bag and keep it there until you are back on dry ground.
The smoothest rhythm is straightforward:
- Arrive early. You avoid the worst crowds and get better access to stairs, platforms, and photos.
- Pay the entry fee in cash. Many cenotes still run on simple, no-frills payment systems.
- Change before you approach the water. It is easier and keeps the site cleaner.
- Check the entry route. Look for ladders, stairs, or shallow entry points before you commit.
- Swim first, snack later. You enjoy the site more when your body is still fresh.
The best cenote days feel simple because you packed light. Every extra item you do not need becomes a soggy annoyance by the time you head home.
Solo Female, Photography, and Ethical Cenote Choices
Solo female travelers should think in terms of structure, not fantasy. Pick cenotes that are on a known day route, use daytime visits, and lean toward managed sites with other visitors around. If a place feels isolated, under-staffed, or awkward to explore alone, trust that instinct and move on.
For extra planning context, these solo female travel safety tips fit cenote days well, especially when you're combining transport, swim time, and changing logistics.
Photography and low-impact travel
Photographers should care about timing more than gear first. Cave cenotes with light shafts reward patience, especially when sunlight reaches the opening cleanly, while open-air cenotes work better for wide, clean compositions. A simple GoPro or underwater housing changes the game, but only if you're not constantly fighting crowds in the frame.
Ethically, the better choice is often the smaller or better-managed site, not the most famous one. Famous cenotes can get crowded, and crowding changes everything. It affects your photos, your sense of calm, and the pressure on a fragile freshwater ecosystem.
A few practical filters help:
- Choose guided visits when possible: They add context and usually improve safety.
- Favor daytime visits: You reduce isolation risk and usually get better site conditions.
- Support locally run sites: Your entrance fee stays closer to the community that maintains the place.
- Skip flash when other swimmers are around: It ruins the mood fast.
- Accept that some famous cenotes are better admired than lingered in: A shorter visit can be the right visit.
If a cenote is overcrowded, the “must-see” label stops mattering. A quieter site with cleaner access and better behavior around the water usually gives you the better day.
Sample Cenote Itineraries and Real Budgets
A smart three-day Riviera Maya sampler should be easy, not ambitious. Base yourself near Tulum or Playa del Carmen, pair one beginner-friendly open cenote with one dramatic cave or semi-open cenote, and keep transport simple. Budget-wise, expect entry fees in the 50 to 300 peso range for each site, plus local transport and food on top of that.
A five-day Valladolid loop gives you the best balance if you want cenotes, colonial towns, and ruins without rushing. I'd build it around a mix of one polished site and one quieter inland choice, then leave one day flexible for weather and energy. For backpackers on a tighter budget, a seven-day plan works best with collectivos, shared stays, and fewer “destination” cenotes, because the cheap wins come from transport discipline as much as from entrance fees.
A simple way to budget it per person:
- Transport: Keep it lean by grouping cenotes by region instead of zigzagging.
- Entry fees: Multiply the site fee by how many swimmable cenotes you plan to enter.
- Food: Buy local meals near your route instead of paying resort-area prices.
- Lodging: Stay central to the cenote cluster, not just where the rooms look nicest.
Book ahead for the most famous sites or anything attached to a tightly scheduled tour. Show up for the less polished cenotes, especially when you're traveling outside peak hours and don't need a fixed slot.
If you want more honest trip planning like this, Travel Talk Today keeps the focus on practical budgets, safety, and smarter routing for travelers who don't want to waste time or money. Explore Travel Talk Today for more no-nonsense guides that help you build trips around what works, not just what looks good in photos.